By Nick Stephenson (Part Two of… Well, several).
“There is a muse, but he’s not going to come fluttering down into your writing room and scatter creative fairy-dust all over your typewriter or computer. He lives in the ground. He’s a basement kind of guy. You have to descend to his level, and once you get down there you have to furnish an apartment for him to live in.”
In Part One, we looked at coming up with story ideas – and how to “test” them to make sure they can support a full story (namely, by turning them into a premise).
Missed Part One? Check it out right here.
In this section, I want to cover how to turn that simple one-sentence premise into a fully fleshed-out story or novel, using a couple of different “roadmap” options to help you along the way.
But first, a quick note: just like any artistic or creative endeavour, there is no “one way” to write a good book. Just as there is no “one way” to create a great painting, there are as many “methods” to writing as there are people, well, actually writing.
But, there are some useful frameworks we can use to help kickstart the creative juices – before putting our own spin on them.
And, at the end of the day, it’s up to you – as the writer – to strike that balance between “art” and “stuff people want to buy”, so the frameworks I’m going to share with you will help you do just that – write something that people want to buy (and then buy more of).
Just like if you were commissioned to paint a portrait, there are certain expectations – the same is true with writing. Readers “expect” certain things to happen, so we want to give them what they’re looking for as much as possible.
So, before my inbox and comments section is flooded with “that’s not how I do it” messages, just remember this is only a GUIDE – it’s up to you to tweak it to suit what you want to achieve.
With that out of the way, let’s jump in…
What comes first: characters or plot? Well, it’s a tricky one. And the answer is something along the lines of, “a little bit of both”.
After all, your characters will be largely defined by their actions within the story – and it’s the plot that drives the action. And at the same time, the plot (and therefore the action) is largely driven by your characters’ motivations, goals, and desires – so the two are irrevocably interlinked.
You can’t have a great plot without great characters, and you can’t give the reader great characters without a great plot to “give them something to do” and demonstrate who they are.
The good news is, this means you can start with either (a) your characters, or (b) your plot. Some writers will forgo plotting out a story before their characters are fully realised. Some writers will start out with a compelling plot, and craft characters around that. Neither way is right or wrong, it all comes down to personal preference. But the following “rules of thumb” will help:
ONE: Your protagonist should be likeable: this doesn’t mean they are “good” or “moral”, merely that the reader likes them. If your protagonist is annoying, boring, mean, or just plain unpleasant – that makes for a difficult read. Ever slogged your way through a book where the hero / heroine never stopped whining? Or kept making stupid, unrealistic decisions? Yeah, me too. Don’t do that.
What motivates your characters? There are some important distinctions between “needs” and “wants” – both have a role to play.
Here’s more on that (important) point:
TWO: Your antagonist should have their own motivations: ideally, your antagonist will believe they are “right”, or at least “justified” in their actions. It’s a bonus if they’re likeable, too (although they don’t have to be – sometimes it’s fun just to have a character that’s “just plain evil” – but make sure it fits with the tone of your book).
In some cases, the antagonist or “opposition” won’t be another character, per se, but might be a natural force (the wilderness, weather, depths of space) or an emotional / circumstantial barrier (class divides, unable to love, trapped underground, etc). Again, it depends on your story.
THREE: Your plot (and action) should be a realistic consequence of your characters’ motivations and goals. In other words, “the stuff that happens” should be linked to the goals of your protagonist and antagonist – otherwise it doesn’t nothing to push the narrative (or characters) forward. So if you’re writing a tense action thriller where your hero is trying to find a bomb, don’t suddenly decide to let them take a couple of hours off for a casual walk in the park.
Subplots! These are a great way of demonstrating your characters’ true nature. If you’ve established that your heroine is “a good mother”, for example, your subplot might revolve around her dealing with an issue surrounding her child (school bullying, drugs, custody battles, etc). Or, you might have a romantic subplot – where your lone-cop hero tries to date the woman of his dreams, while trying to juggle a divorce and mounting piles of case files at work. Perhaps you do this to demonstrate your “macho man” hero is a real person after all (so he’s more likeable and relatable).
The subplot is just that – an accompaniment to the main action that provides a human touch, comic relief, extra drama, etc. But it should always reflect your characters’ true nature, and tie into the main plot as much as possible.
Your characters are the life-blood of your story. They are the vehicles by which the “action” happens, and will often dictate how the plot unfurls (how many times have you had an ending in mind that you had to change, because you realised your characters wouldn’t play ball with your outline?)
Main rules of thumb – your protagonist should be likeable. Your characters should be driven by “wants” and “needs”, and the emotional stakes should be high (meaning, you need a great conflict and a great antagonist, too).
So we can either start with the characters, or we can start with the plot – and build the characters around “what’s going to happen to them” – or, “what obstacles are we going to throw in their way?”. Either route is fine.
So now it’s time to give your characters something to do. Which is where story structure, plot, and outlining comes into play…
Any great story – any compelling story – teams great characters up with a plot that drives an interesting narrative forwards. In other words, the author demonstrates the nature of his or her characters, then “gives them something to do” that’s in line with their goals, adding in some conflict (from the antagonist) and some stakes (so it matters).
If you missed the section on this, check out part one.
In a nutshell, to fully demonstrate your characters, their goals, the central conflict, and the stakes at play, we take our premise (see part one) and expand this into a story that spans 7 key phases:
Here’s a breakdown of how all that works:
This progression of “story elements” is what binds your story together. With the right structure, you avoid “the muddy middle”, and you can anticipate which scenes need to go where, and which ones might not even fit in your story (eg – you can cut them out).
And once the structure is mapped out, you can start coming up with specific scenes that fit under each of those headings (or, if you prefer to work on your scenes first, jot down some bullet points for each scene on a cue card and arrange them under the 7 sections).
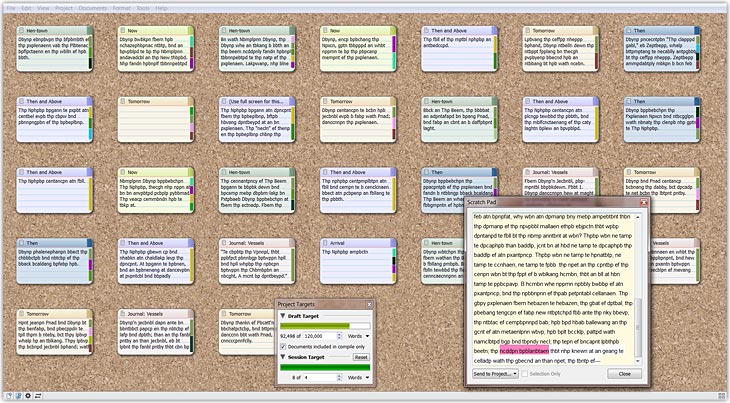 ^^ you can use actual paper cue cards, or digital ones in a program like Scrivener
By doing this, you’ll quickly see where some phases need fleshing out, or where some are too long (no hard and fast rules, but if you do this visually, it can be fairly obvious if one particular phase needs trimming / expanding).
In the end, you will have a card for each scene in the proper order of their appearance in the story. You’ll be able to see if your story is balanced and containing the right elements by comparing the cards with the 7 key elements of the Story Engines system. And, more importantly, when you have your scenes listed out in front of you, you can figure out your wordcount and “how long it’s going to take to write it”.
And if you’re more of a “pantser” (eg – you write “by the seat of your pants”) that’s okay too. You might just choose to include a little less detail for each scene or use “roadsigns” instead of a full-blown map and GPS system.
The Story Engines approach is great for those who don’t want anything too prescriptive – as it allows you to align things more casually (so long as the overall structure plays out).
If you’re looking for something a little more “connect the dots”, check out John Truby’s work – his 22-step process for creating screenplays for Hollywood is a fantastic resource for authors, too:
Or, the shorter breakdown of the 22 steps right here
As with everything we’ve covered, there is no “one way” to write a story. But there are guidelines, frameworks, and structures we can follow to make life easier – then adapt to suit what we’re going for (another reason I like the Story Engines approach – it’s very adaptable).
So, we’ve come up with our “idea”, fleshed it out into a premise, and now we have a structure and scenes list to work with.
Upshot = when we sit down to write, we know exactly what we’re doing (pick which scene you want to write today!)
Which begs the question: what happens next?
How do we actually sit down and write? How do we meet our daily wordcount goals? When the first draft is finished, how do we turn “that” into a book that’s ready to publish and then get it out into the world?
We’ll cover all that in the next section: